

You have to know that I live in a 1977 midwestern ranch. There's nothing special about the house itself...typical contractor trim, moulding and no real architecture to speak of. We moved in nine years ago and had the advantage of living at my parents house down the road (where I grew up) for two months while we stripped wallpaper, ripped up nasty, deteriorating carpet, painted every surface, installed Spanish tile floor, new carpeting, and a new kitchen. I left the bathrooms "as is" because I figured I'd get to them soon! Wow, was I wrong. I can't believe I've lived with these bathrooms for nine years. I did at least take the time to paint the vanities, remove the vanity doors and use baskets instead, and framed out the contractor mirror in the main bath.
My master bath hardly lives up to the term "master". It's barely big enough to turn around in, and there's no way that my husband and I can get ready at the same time! The worst part was I had no drawers in the vanity! The lack of drawers had moved me to find clever ways to store everything from hairbrushes to hair products. Over the years I've had almost every type of cupboard storage hanging above my toilet that you could possible think of, from a nine hole chicken roost to a vintage cabinet with a door.
Let me back up to nine years ago--to what we had when we moved in:

So, for the next eight years, it looked more like this...soft yellow paint, dark woodwork, new tiled floor, painted vanity (which later I removed the doors for easier access), small shelf above sink, new toilet.

Then, a year ago I painted the walls tan, the woodwork white and gave a fresh coat to the vanity, and added turquoise accents, new bird pattern shower curtain and fashioned an easy window treatment from a few yards of burlap and some cording. I don't have a full view, but here's a few close ups:

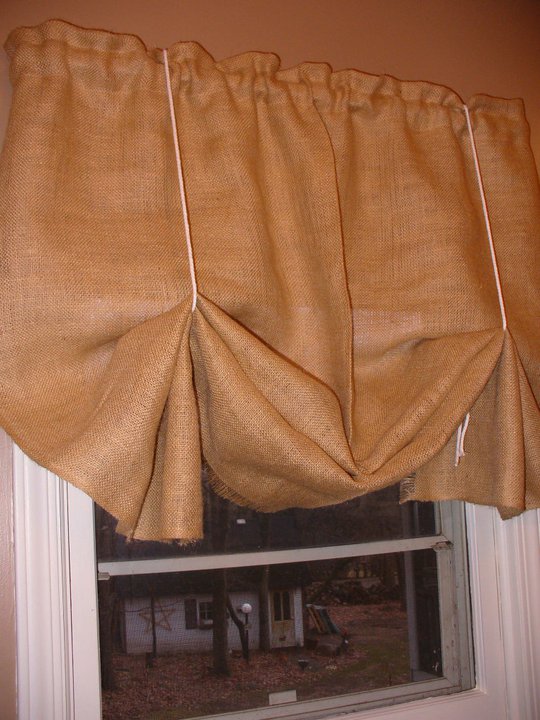

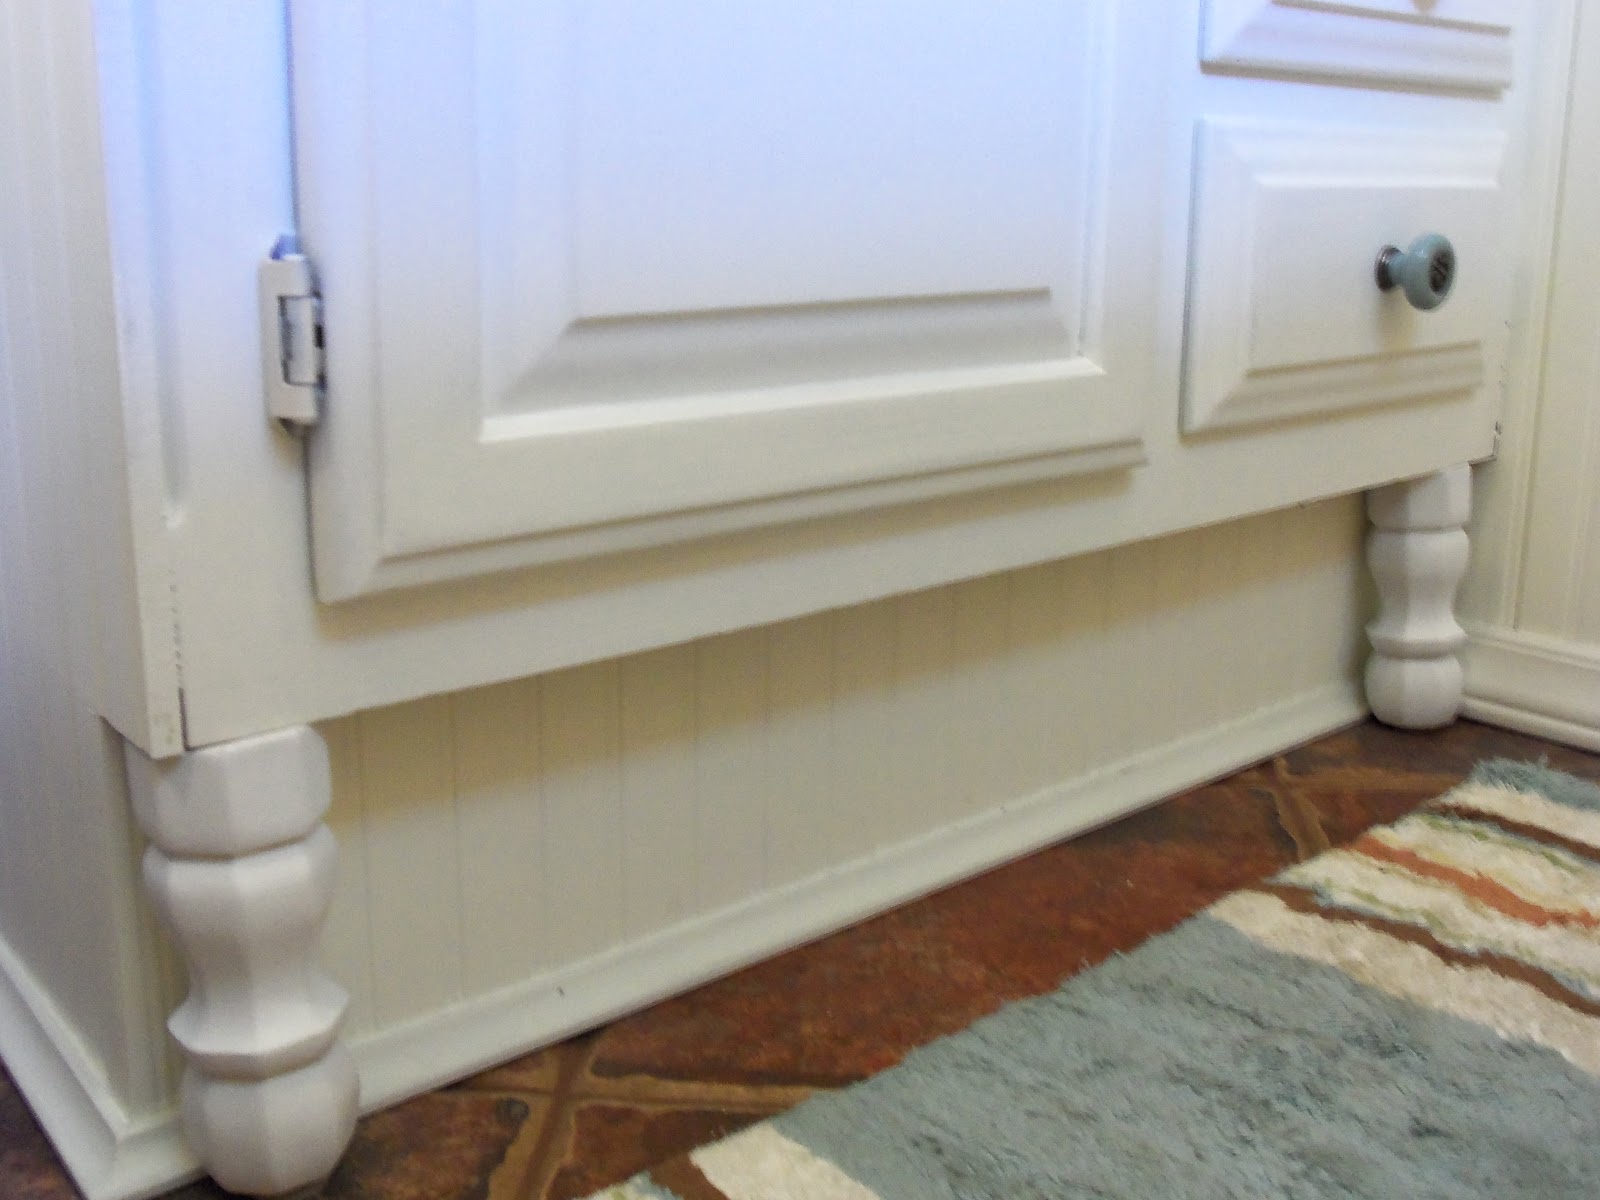
I thought that would hold me for a few years...until I decided I hated my vanity and really, really needed at least one drawer to put a hairbrush in. That's not too much to ask is it? So a few weeks ago when I found a 30" vanity on craigslist for $30 that had three drawers in it...I jumped on it. But as I drove away after picking it up I had one of those "oh, shoot" moments. I apparently had forgotten the earlier conversation my husband and I had regarding the wish to have a taller vanity to fit our taller bodies. Oops! So I called my carpenter brother to ask him about building it up higher. No problem he tells me. Great...let's get started.
We decided that after he "raised" the $30 vanity to a taller 35 inches, we'd have to cover the exposed side with something...which we decided upon beadboard. Then I thought, why stop with just the side of the vanity? Why not add more beadboard to get the total cottage look? So, we did...and I added a solid white sink (thanks to my friend Kim who convinced me to get all white), oil rubbed bronze faucet, and I painted the mirror again a soft blue. We kept the same toilet, light fixtures, tan paint and accessories. I did away with the heavy wood cabinet above the toilet and opted for open shelves. I really need storage in this small bath, so I decided to add a long shelf the length of the room above the window. And another two shelves above the toilet for baskets and such.
I racked my brain for two weeks on what type of shelves and brackets or corbels to use. I really didn't want to cough up $10/bracket seven times over (four above toilet for 2 shelves, and 3 for above window). In the end, I had a brainstorm idea for brackets...you'll see what I mean...without further adieu, welcome to my cottage bath...
You enter the bath from either my bedroom, or this door off the family room. I decorated both rooms with similar colors for a nice cohesive feel as you walk from one to the next.



Can you see what I did over the window? I didn't even need brackets! I cut the shelf the "exact" width of the room, and laid it directly on the door trim at both ends of the room. Wa-la!


Here's my "al-natural" look for brackets. I visited my backyard, cut some branches, glued them together into bracket shapes, and hot-glued them to my "L" brackets on the underside of the shelf!


I'm so happy with the way it turned out. Now, the minute the barn sale is over, I'm planning on hitting the main bath with a heavy hand! I'm leaning toward a vintage buffet with the sink cut into it! Stay tuned for that one!


